 Pin It
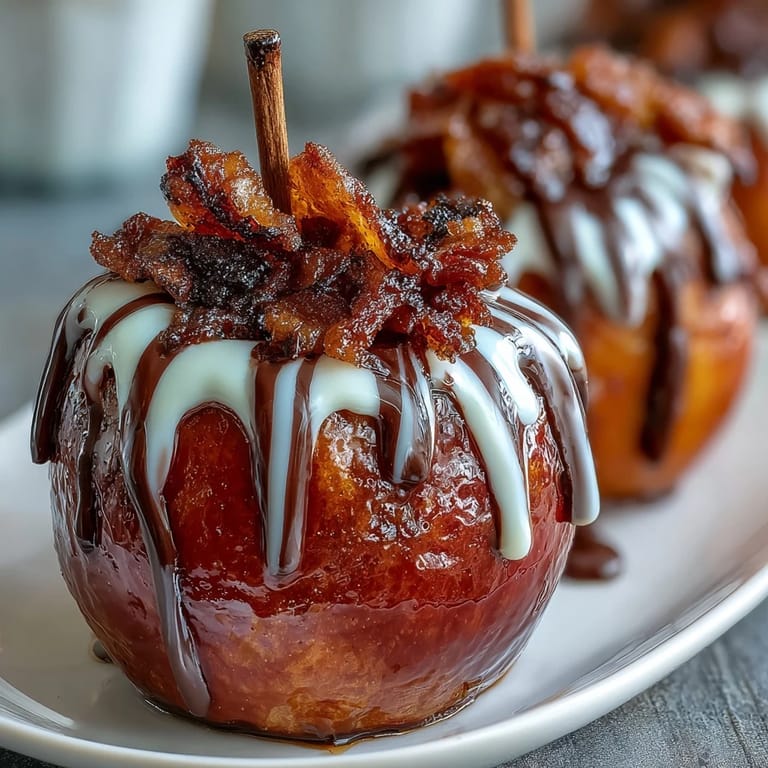
 My grandmother had this ancient cast-iron apple corer that she'd wave around like a magic wand at county fairs, and somehow that motion stuck with me. Years later, standing in my kitchen on a crisp October afternoon with a bag of Granny Smiths and nothing but time, I decided to chase that memory by making candy apples the way she probably did—except with the gleaming red shell and white chocolate drizzle I'd seen in bakery windows. The first batch taught me that speed matters when you're working with molten sugar, but also that the whole process is oddly meditative once you accept the heat and the urgency.
I made these for my coworker's daughter who mentioned offhandedly that she'd never had a real candy apple, only the sad ones from gas stations. Watching her face when she realized the coating was actually crispy and the apple inside was still fresh and tart—that moment made the burns on my fingers feel completely worth it. She asked for the recipe immediately, and I knew then that this was the kind of dessert that bridges generations without trying.
Ingredients
- 8 small to medium Granny Smith or Gala apples: The tartness of Granny Smiths cuts through the sweetness beautifully, but Galas work if you prefer less pucker; whatever you choose, make sure they're firm and absolutely dry or the coating won't stick properly.
- 8 wooden sticks: Popsicle sticks work fine, but craft sticks feel more intentional somehow, and they won't splinter if you insert them slowly.
- 2 cups granulated sugar: This is your base for that glossy red shell, and measuring it accurately makes all the difference in reaching the right temperature.
- 1/2 cup light corn syrup: This keeps the candy from crystallizing mid-cook, which I learned by making them without it once—never again.
- 3/4 cup water: Combined with the sugar and syrup, this creates the foundation for your candy mixture.
- 1/2 tsp red gel or liquid food coloring: Gel coloring gives you that deep, jewel-toned red that looks like you raided a candy shop; liquid food coloring works but can make the mixture slightly watery.
- 1/8 tsp cream of tartar: This optional ingredient prevents graininess and gives your candy a smoother, more professional finish.
- 3 oz white chocolate, chopped or chips: Quality matters here since white chocolate has less cocoa to carry flavor; cheaper versions taste waxy and plastic.
- 1 tsp coconut oil or vegetable oil: This thins the white chocolate just enough to drizzle beautifully without breaking it apart.
Tired of Takeout? 🥡
Get 10 meals you can make faster than delivery arrives. Seriously.
One email. No spam. Unsubscribe anytime.
Instructions
- Set up your station:
- Line a baking sheet with parchment paper and grease it lightly so your finished apples won't stick. Insert a stick firmly into each apple's stem end at a slight angle—you want it secure enough to hold the weight of the candy without wobbling.
- Combine your candy base:
- In a heavy-bottomed saucepan, gently mix sugar, corn syrup, water, and cream of tartar until they look like wet sand. The gentle touch here matters because you don't want to agitate the mixture prematurely.
- Heat without stirring:
- Bring the mixture to a boil:
- Set your saucepan over medium heat and attach a candy thermometer to the side, making sure it doesn't touch the bottom. Once it hits a boil, resist the urge to stir—just let it bubble away and watch the temperature climb.
- Add your color at the right moment:
- When the mixture reaches 250°F, add your red food coloring and swirl the pan gently to distribute it evenly. The color will deepen as the mixture cooks further, so don't panic if it looks a bit pale at first.
- Reach hard crack stage:
- Continue boiling until your thermometer hits 300°F, which should take just a few more minutes. You'll notice the bubbles becoming smaller and the color deepening to that rich, glossy red that makes your heart skip.
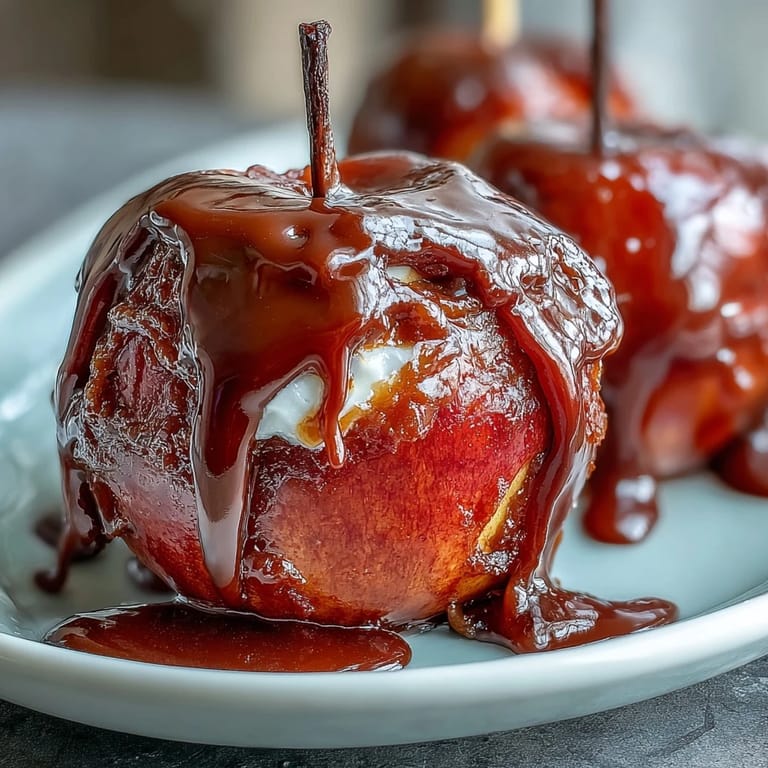
- Dip with confidence:
- Remove from heat immediately and work quickly—dip each apple by tilting the pan and turning it to coat evenly, then place it on your prepared sheet. If the mixture becomes too thick, you can set the pan briefly over very low heat, but speed is your friend here.
- Let it set:
- Give the candy coating about 10 minutes to harden completely before you touch them. This is a good moment to take a breath and admire your work.
- Melt your white chocolate:
- In a microwave-safe bowl, combine white chocolate and coconut oil, then microwave in 20-second bursts, stirring between each burst until everything is smooth and pourable. This careful approach prevents the white chocolate from seizing and becoming grainy.
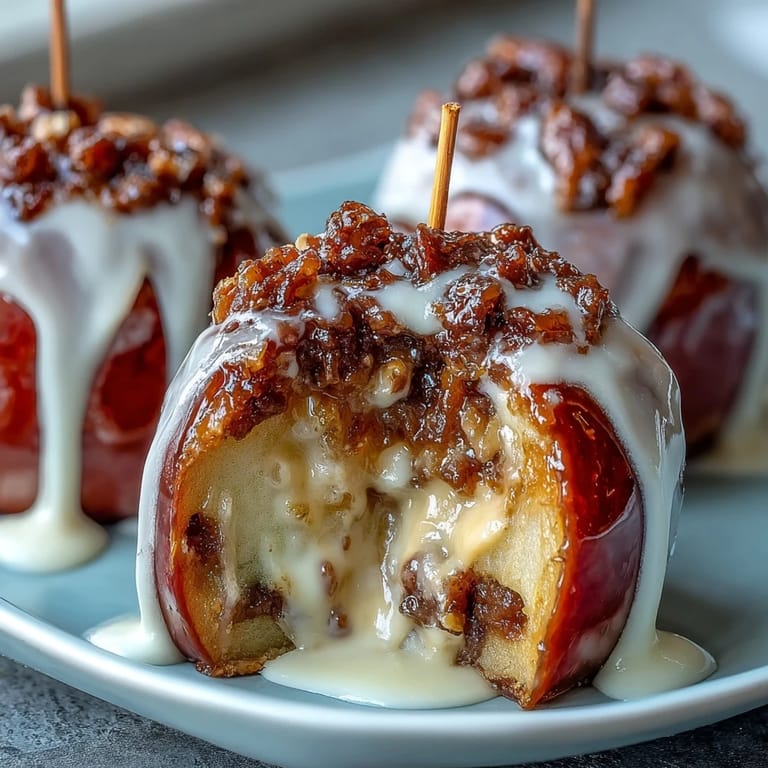
- Finish with the drizzle:
- Using a spoon or piping bag, drizzle the white chocolate across your cooled apples in whatever pattern feels right to you. Let them set for 10 minutes more before you serve them, though honestly, people start sneaking bites before you're even finished.
 Pin It
 There's something almost ceremonial about making candy apples, like you're creating edible decorations for a harvest celebration that lives only in your kitchen. My daughter wanted to help one afternoon, and we ended up drizzling white chocolate while she told me about her day, and somehow those apples became less about the recipe and more about the hour we spent together, sticky fingers and laughter and the smell of caramelized sugar filling the house.
Variations to Try
Once you master the basic red, you can explore colors that match your mood or occasion—a deep purple for Halloween, forest green for Christmas, or even a golden amber if you skip the food coloring altogether and just let the caramel shine. I've rolled freshly dipped apples in crushed pretzels for salt-sweet contrast, sprinkled them with edible glitter when I wanted them to catch the light, and even stirred a tiny splash of vanilla extract into the coating once, which made the whole thing taste somehow more sophisticated. The white chocolate drizzle is your canvas, so treat it that way.
Storage and Serving
These keep beautifully in an airtight container at room temperature for up to five days, though they're honestly best the day you make them when the candy is still truly crisp and hasn't started to soften. If you need to make them ahead, you can prepare the apples through the candy coating stage a day early, then add the white chocolate drizzle a few hours before serving so it looks fresh. They're perfect for parties because people can eat them standing up, and they look impressive enough that nobody needs to know how straightforward the whole process actually is.
Why This Recipe Matters
Candy apples sit at the intersection of homemade and show-stopping, which is why they've endured for generations despite being fairly simple to execute. They remind us that sometimes the most memorable treats aren't the complicated ones that require specialty ingredients, but the ones that taste like a specific moment in time and feel like a small gift to yourself or someone you love. There's also something oddly grounding about working with sugar and heat, about watching transformation happen in your own hands, about creating something that sparks joy the moment someone sees it.
- If you're nervous about working with hot sugar, start by making one apple as a test run so you understand how quickly things move.
- Keep a bowl of ice water nearby just in case you splash yourself—it happens, and cold water is your immediate friend.
- Remember that imperfect apples taste just as good as perfect ones, so don't stress about achieving bakery-level flawlessness.
 Pin It
 Make these when you want your kitchen to feel like a destination and your hands to smell like caramel for the rest of the evening. They're proof that sometimes the simplest recipes create the most lasting memories.
Recipe Q&A
- → What type of apples work best for candy apples?
Firm, crisp apples like Granny Smith or Gala hold up well during the candy coating process, providing a tart contrast to the sweet shell.
- → How do I ensure the candy coating sets properly?
Make sure apples are thoroughly dried before dipping, and allow the candy to cool at room temperature without disturbing it to form a hard, shiny shell.
- → What is the purpose of cream of tartar in the candy mixture?
Cream of tartar helps prevent crystallization, ensuring a smooth, clear candy coating.
- → How can I make the white chocolate drizzle smooth and easy to apply?
Melt white chocolate gently with coconut or vegetable oil to create a silky texture that's easy to drizzle.
- → Can I add toppings to the candy apples before the coating sets?
Yes, rolling freshly dipped apples in chopped nuts or sprinkles before the coating hardens adds extra flavor and texture.