 Pin It
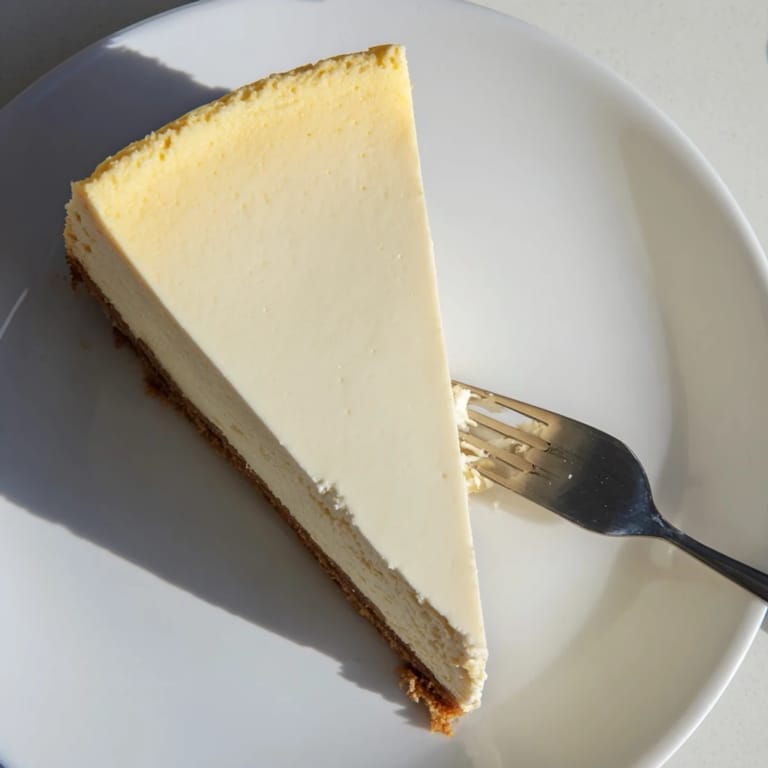
 The smell of buttery graham crackers toasting in the oven always takes me back to my tiny apartment kitchen, where I attempted my first New York cheesecake during a freezing December weekend. I was terrified of the water bath technique, convinced Id ruin everything, but that first bite of silky, dense perfection made all the anxiety worth it. Now it's become my go-to celebration dessert.
I made this for my sisters engagement party last spring, and I swear the silence that fell over the room when everyone took their first bite was better than any compliment. Three people asked for the recipe before they even finished their slices.
Ingredients
- Graham cracker crumbs: The foundation of that classic crunchy, buttery base that contrasts perfectly with the creamy filling
- Unsalted butter: Melted and mixed into the crust creates that irresistible sandy texture that holds everything together
- Full-fat cream cheese: Room temperature is non-negotiable here, it prevents lumps and ensures that silky smooth finish
- Sour cream: Adds just the right tang and keeps the filling from becoming too sweet or heavy
- Cornstarch: The secret ingredient that stabilizes the filling and prevents those frustrating cracks we all hate
- Vanilla extract: Pure vanilla makes all the difference, dont even think about using imitation here
- Fresh lemon juice: Brightens everything up and cuts through all that richness
Tired of Takeout? 🥡
Get 10 meals you can make faster than delivery arrives. Seriously.
One email. No spam. Unsubscribe anytime.
Instructions
- Preheat your workspace:
- Set your oven to 160°C and prepare a 23 cm springform pan by greasing it thoroughly and lining the bottom with parchment paper for easy removal later.
- Build the crust foundation:
- Combine graham cracker crumbs, melted butter, sugar, and salt in a bowl until the mixture resembles wet sand, then press it firmly into your prepared pan and bake for 10 minutes.
- Create the silky filling:
- Beat room temperature cream cheese until perfectly smooth, then add sugar, sour cream, vanilla, lemon juice, cornstarch, and salt until just incorporated.
- Gently incorporate the eggs:
- Add eggs one at a time on low speed, scraping the bowl after each addition and being careful not to overmix, which can introduce air bubbles.
- The water bath technique:
- Pour the filling over your cooled crust, smooth the top, then place the springform pan inside a larger roasting pan filled with hot water halfway up the sides.
- The slow bake method:
- Bake for 55 to 65 minutes until edges are set but the center still jiggles slightly like gelatin, then turn off the oven and crack the door open.
- The patience phase:
- Let the cheesecake cool in the oven for one hour, run a knife around the edge, then cool completely before refrigerating for at least 6 hours or overnight.
 Pin It
 My friend Sarah called me at midnight once, panicking because her cheesecake had cracked down the middle. We laughed about it later when she realized shed forgotten the water bath, but now she swears by this method and texts me pictures every time she makes it.
Mastering The Water Bath
Ive learned the hard way that wrapping the springform pan in foil or placing it on a folded towel in the water bath prevents any accidental leaks. The first time I made this, I didnt seal it properly and ended up with a soggy crust lesson learned.
Serving Suggestions
A plain slice is divine, but fresh berries or a fruit compote takes this to restaurant quality. I once served it with a tart cherry topping at a dinner party, and my brother-in-law literally asked if he could take the remainder home.
Storage And Make Ahead Tips
This cheesecake actually improves after a day or two in the refrigerator, which makes it perfect for stress-free entertaining.
- Make it up to three days before your event, it will only get better
- Freeze individual slices wrapped tightly for up to a month
- Always use a hot knife dipped in hot water for picture-perfect slices
 Pin It
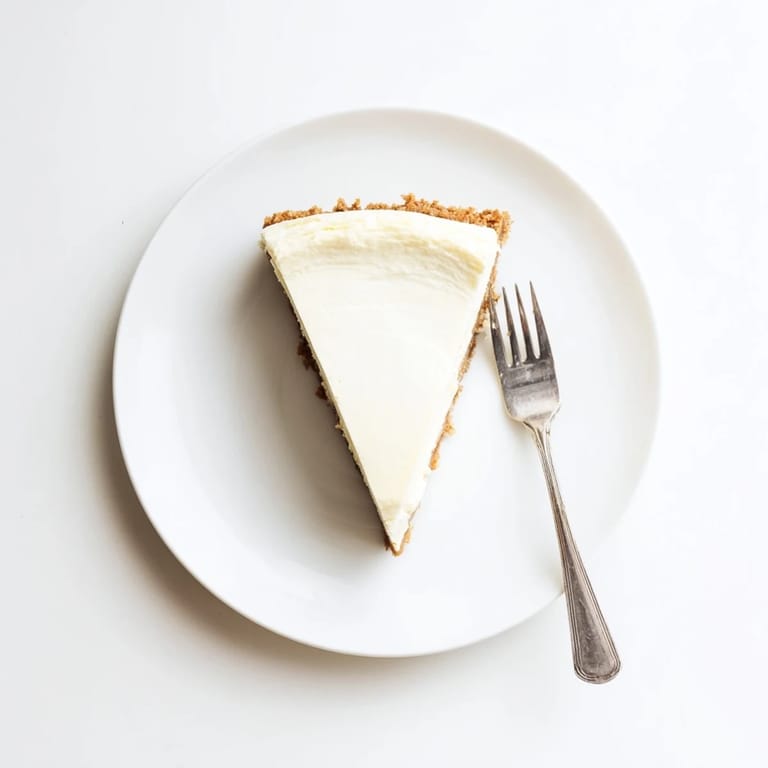
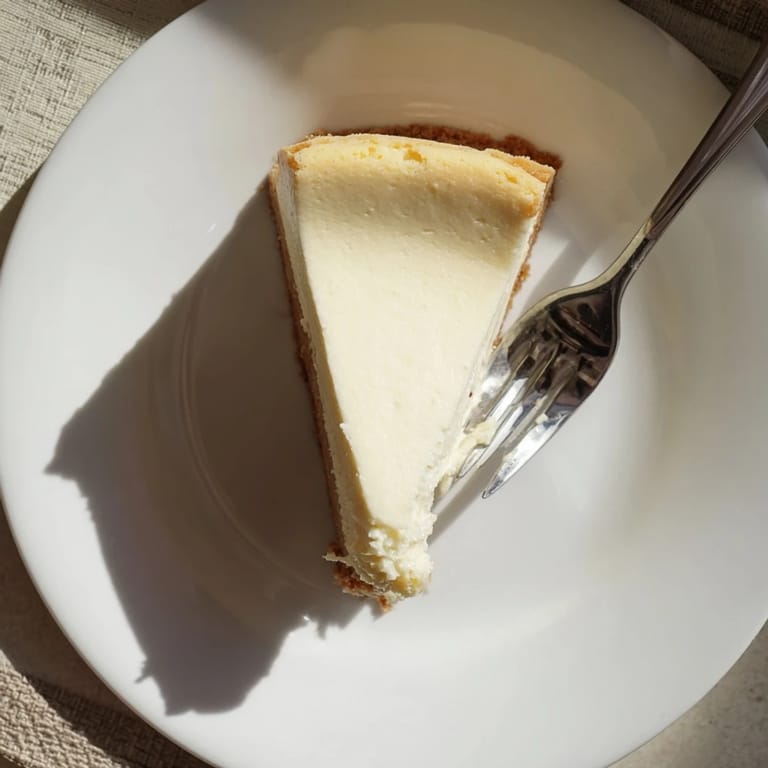
 There's something deeply satisfying about slicing into a perfectly smooth, crack-free cheesecake you made yourself. It's the kind of dessert that makes people feel special.
Recipe Q&A
- → Why is room temperature cream cheese important?
Room temperature cream cheese blends smoothly without lumps, ensuring the silky texture that defines authentic New York cheesecake. Cold ingredients create a grainy, uneven filling.
- → What causes cracks in cheesecake?
Overmixing incorporates too much air, while rapid temperature changes or overbaking cause cracking. The gentle cooling method in the oven helps prevent these common issues.
- → Can I skip the water bath?
The water bath creates gentle, even heat circulation that prevents the edges from overcooking before the center sets. Without it, the texture becomes dry and cracking becomes more likely.
- → How long should cheesecake chill before serving?
Minimum six hours, though overnight chilling produces the best texture and flavor. This allows the filling to fully set and develop that characteristic dense, creamy consistency.
- → What's the best way to slice cheesecake cleanly?
Dip a sharp knife in hot water and wipe clean between each slice. The warm blade cuts through smoothly without dragging, creating beautiful, clean portions.
- → Can I freeze this cheesecake?
Yes, wrap the cooled cheesecake tightly in plastic and foil before freezing. Thaw overnight in the refrigerator for best results. The texture remains excellent for up to three months.