 Pin It
 My cousin's graduation party was supposed to have a traditional tiered dessert display, but the bakery order got mixed up two hours before guests arrived. Instead of panicking, I raided the local specialty shop and my own freezer, piling everything onto our grandmother's wooden board—and honestly, it looked better than anything that could've been ordered. That cobbled-together moment taught me that the most memorable dessert spreads aren't always planned; they're assembled with joy and a little improvisation.
I watched my friend's eight-year-old daughter carefully select one item from each section of the board, building her perfect plate with the kind of concentration usually reserved for museum art. She announced to the whole room that this was the best part of the party, not because everything was fancy, but because she got to choose her own adventure. That's when I realized these boards work because they give people permission to be a little bit selfish in the best way.
Ingredients
- Mini brownies: Buy a quality batch from your bakery or use a boxed mix baked in a smaller pan—the key is that these should feel substantial enough to be satisfying on their own.
- Mini lemon bars: The brightness cuts through rich chocolates, so don't skip them even if citrus isn't your first choice.
- Chocolate truffles: Get these from a chocolatier if possible; they add sophistication and cost less than you'd think.
- Mini fruit tarts: These provide crunch and elegance—look for ones with actual fruit on top, not just filling.
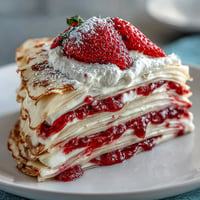
- Sheet cake slices: One small cake feeds your whole board; vanilla, chocolate, or funfetti all work beautifully depending on your crowd.
- Strawberries: Halve them so they're easier to grab and the color pops against darker treats.
- Blueberries: Their firm texture means they won't get squished as people reach across the board.
- Raspberries: These are delicate and gorgeous but use them last since they bruise easily.
- Seedless grapes: They bridge flavors and offer a refreshing palate cleanser between rich bites.
- Assorted macarons: Pick three or four colors that complement your cake shade.
- Mini meringues: These add height and whimsy—they're mostly air, so they take up visual space without heaviness.
- Chocolate-covered pretzels: The salt-sweet contrast is the secret weapon that keeps people coming back.
- Edible flowers: Completely optional but they make the board feel like a special occasion.
- Fresh mint: A handful of sprigs ties everything together and adds a pop of green.
Tired of Takeout? 🥡
Get 10 meals you can make faster than delivery arrives. Seriously.
One email. No spam. Unsubscribe anytime.
Instructions
- Choose your canvas:
- Pick a large wooden board, ceramic platter, or marble tray that feels right for your celebration. Wood has warmth, ceramic lets colors pop, and marble says fancy without trying—your choice sets the tone.
- Arrange the cake in style:
- Fan out your cake slices in a semi-circle or gentle arc; this creates a focal point and uses space efficiently. Overlap them slightly so they look abundant.
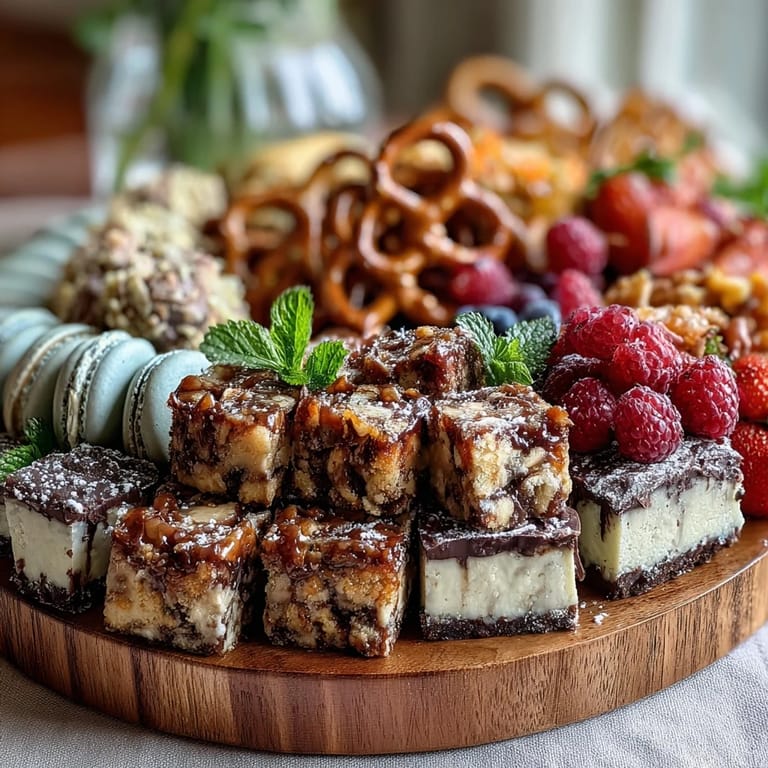
- Build treat clusters:
- Group the brownies, lemon bars, truffles, and fruit tarts in small bunches of three to five pieces, placing them around the cake slices. Alternate colors and textures so your eye bounces around the board rather than landing on one type.
- Fill the spaces with fruit:
- Scatter berries and grapes into gaps, creating little pockets of color. Think about it like you're filling in puzzle pieces—nothing should look too bare.
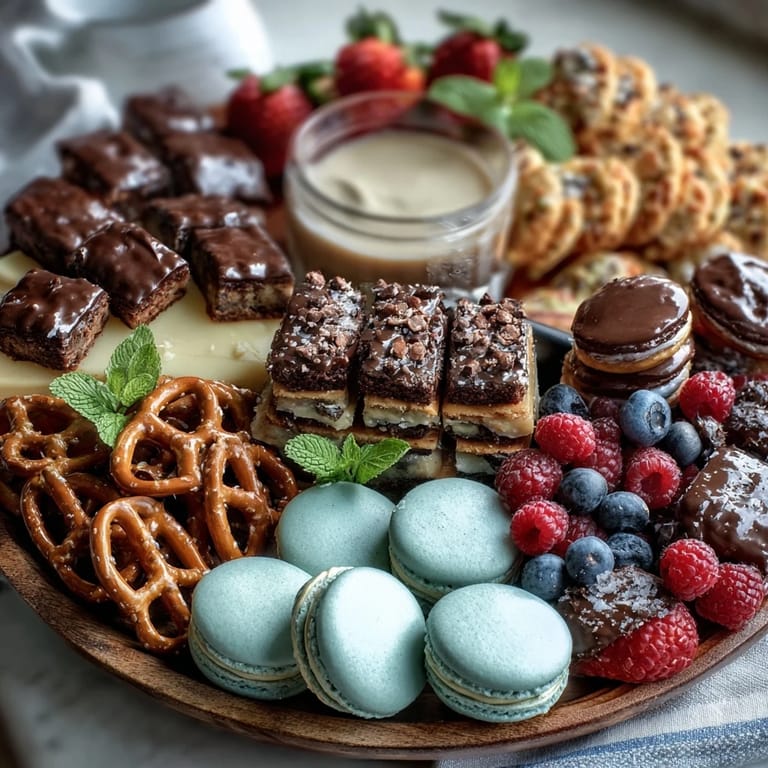
- Add texture with macarons and more:
- Drop clusters of macarons, meringues, and chocolate-covered pretzels wherever you see empty real estate. These items have height and visual interest.
- Finish with garnish:
- Tuck edible flowers into corners and lay mint sprigs across the board casually, as if you didn't spend five minutes arranging them perfectly (even if you did).
- Time the reveal:
- Serve right away for a wow moment, or cover and refrigerate until guests arrive. Pull it from the cold 20 minutes before the party so flavors and textures reach their best.
 Pin It
 My mom came into the kitchen while I was fussing over the final placement of mint sprigs and said, 'You know they're just going to dig in and mess it all up, right?' She was absolutely right, but somehow that's the whole point. The beautiful board is the gift, and watching people enjoy it, imperfectly, is the real celebration.
Building a Board That Tells a Story
The best dessert boards aren't about perfection; they're about giving people choices. I learned this when I started thinking about the different sections as chapters—the chocolate chapter, the fruity chapter, the fancy macarons chapter. When you see it that way, arranging becomes less intimidating and more like you're setting the scene for a memorable moment. The board becomes a conversation starter and a DIY dessert experience all at once.
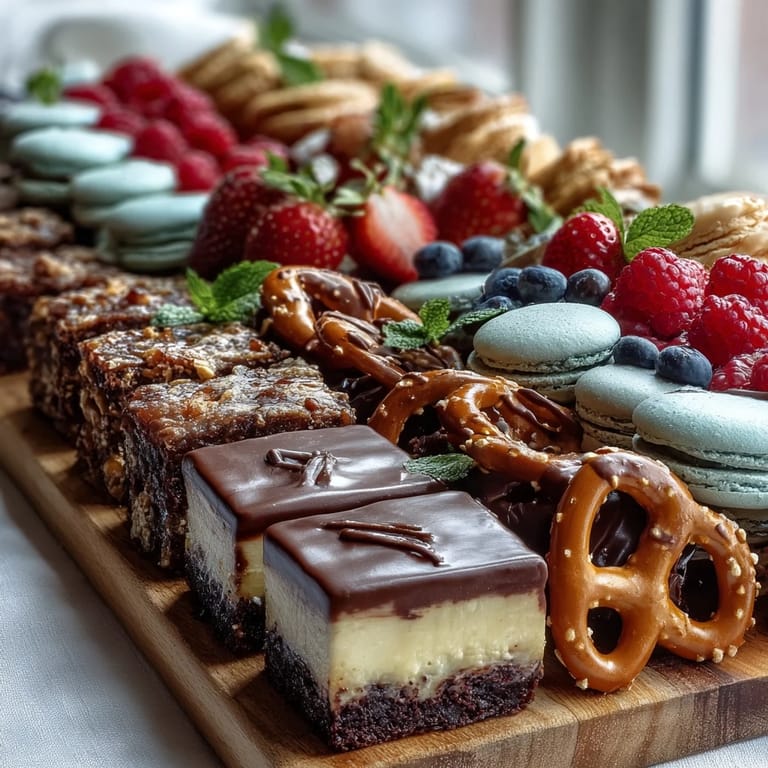
Colors, Textures, and Visual Balance
Pay attention to the visual rhythm as you build. Dark chocolates need light berries nearby, shiny truffles need matte meringues as neighbors, and crumbly brownies should be balanced with smooth macaron shells. When I finally stopped overthinking and just trusted my eye for what looked good next to what, the whole thing came together. A well-balanced board naturally draws people's eyes across every section and makes them want to taste everything.
Timing and Temperature Tricks
The hardest part isn't making the board beautiful—it's resisting the urge to arrange it hours ahead. Built too early, cake slices dry out and berries start to weep. I used to put boards together at midnight for noon parties and wondered why everything looked tired by 1 p.m. Now I build it within an hour of serving and the difference is noticeable. If you must plan ahead, keep components separated in the fridge and assemble 45 minutes before guests arrive, then set it out 20 minutes before so everything reaches that sweet spot of temperature and texture.
- Chocolate truffle should be cool enough to hold their shape but not ice-cold and brittle.
- Fresh berries taste better when they've had 15 minutes to warm up slightly from the fridge.
- Cake slices actually taste more flavorful at room temperature than straight from cold storage.
 Pin It
 This board isn't just a dessert option; it's an edible centerpiece that celebrates whatever you're marking. Whether it's a graduation, a summer get-together, or just a Saturday with friends, the act of building it together (or admiring someone else's work) becomes part of the memory.
Recipe Q&A
- → What treats are included on the dessert board?
The board features mini brownies, lemon bars, chocolate truffles, fruit tarts, and thin slices of cake, along with fresh berries and assorted garnishes.
- → How should the cake slices be arranged?
Arrange the cake slices in a semi-circle or fan shape on one side of the board to create an appealing visual foundation.
- → Can this dessert board accommodate dietary restrictions?
Yes, by selecting vegetarian-friendly or gluten-free treats and cake options, the board can suit various dietary needs.
- → What garnishes enhance the presentation?
Edible flowers and fresh mint sprigs add color and a festive touch, while macarons and mini meringues contribute texture and variety.
- → How long does preparation take?
The board can be assembled in about 35 minutes if using pre-made treats and cake, requiring no additional cooking time.
- → How should the dessert board be served?
Serve immediately or refrigerate until ready, then bring to room temperature about 20 minutes before serving for best flavor.