 Pin It
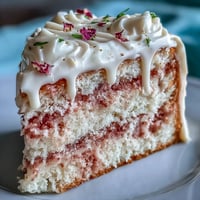
 Last winter, after a particularly long week that left me drained and craving something comforting, I found myself melting chocolate and butter in a saucepan at midnight. The way the glossy mixture came together felt like a small act of kindness to myself, and that first batch of brownies disappeared faster than I care to admit. Now they are my go-to remedy for bad days, celebrations, and everything in between.
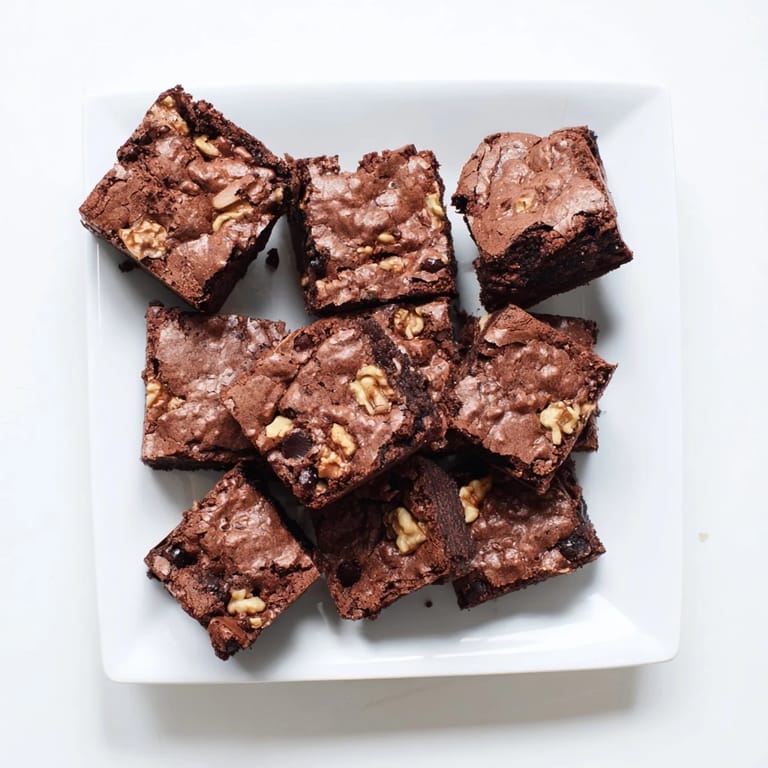
I brought these to a friend's potluck dinner last month, and someone actually asked if I had bought them from a bakery. Watching people's eyes light up when they took that first bite made me realize that the simplest recipes often create the biggest moments. Three people asked for the recipe before dessert was even over.
Ingredients
- 170 g (6 oz) semi-sweet chocolate: The quality really shows here, so use a brand you enjoy eating plain
- 115 g (1/2 cup) unsalted butter: Room temperature butter melts more evenly and prevents seizing
- 200 g (1 cup) granulated sugar: Creates that signature crackly crust we all love
- 50 g (1/4 cup) light brown sugar: Adds moisture and a subtle caramel depth
- 2 large eggs: Room temperature eggs incorporate better and create a fudgier texture
- 1 tsp vanilla extract: Pure vanilla makes a noticeable difference in the final flavor
- 80 g (2/3 cup) all-purpose flour: Measuring by weight is ideal for consistent results
- 30 g (1/4 cup) unsweetened cocoa powder: Sifting prevents lumps and ensures even distribution
- 1/4 tsp salt: Balances the sweetness and enhances chocolate flavor
- 100 g (2/3 cup) chopped walnuts or pecans: Toast them first for extra flavor if you have time
- 100 g (2/3 cup) chocolate chips: Fold them in gently to avoid streaks in your batter
Tired of Takeout? 🥡
Get 10 meals you can make faster than delivery arrives. Seriously.
One email. No spam. Unsubscribe anytime.
Instructions
- Prepare your pan:
- Parchment paper is your best friend here, create those overhangs like handles so you can lift the whole batch out later.
- Melt together butter and chocolate:
- Keep the heat low and stir constantly until smooth, then set aside to cool for about 10 minutes.
- Whisk in both sugars:
- The mixture should look glossy and slightly thickened, which means the sugars are dissolving properly.
- Add eggs one at a time:
- Whisk thoroughly after each egg until completely incorporated before adding the vanilla.
- Fold in the dry ingredients:
- Sift the flour, cocoa, and salt directly into the bowl and fold gently until no streaks remain.
- Add your extras:
- Fold in nuts or chocolate chips just until distributed, being careful not to overmix.
- Bake until just set:
- The center should still have a slight wobble and a toothpick should come out with moist crumbs, not clean.
 Pin It
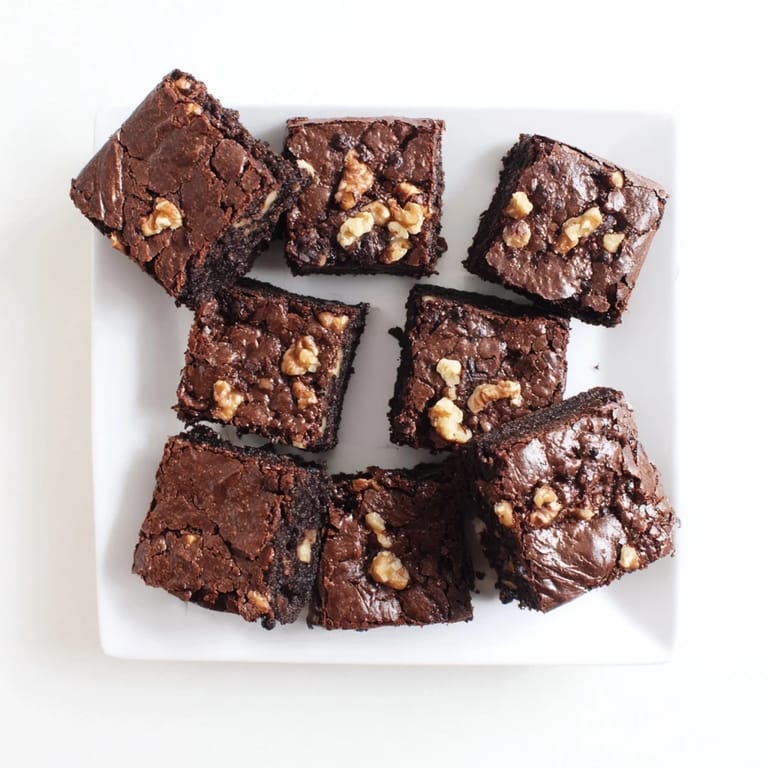
 These brownies have become my secret weapon for turning an ordinary Tuesday into something worth celebrating. Whether I am sharing them with neighbors or eating one straight from the pan with a glass of cold milk, they never fail to make life feel a little sweeter.
Getting That Perfect Crust
The shiny crackly top happens when sugar rises to the surface and caramelizes during baking. Properly whisking your eggs into the warm chocolate mixture creates the right structure for this magic to occur. Do not rush this step even if you are impatient to get them in the oven.
Fudgy Versus Cakey
The ratio of fat to flour determines whether your brownies lean fudgy or cakey. This recipe hits the sweet spot with just enough flour to hold everything together while still maintaining that dense, rich texture. More flour and more eggs will push toward cakey territory.
Storage and Serving
Room temperature storage keeps them perfectly fudgy for up to three days in an airtight container. They actually improve on day two as the flavors meld and the texture settles. You can freeze them wrapped individually for up to three months and they thaw beautifully.
- Warm them for 15 seconds in the microwave if they have been refrigerated
- Serve with sea salt flakes on top for a gourmet touch
- Use a hot knife dipped in water for clean cuts
 Pin It
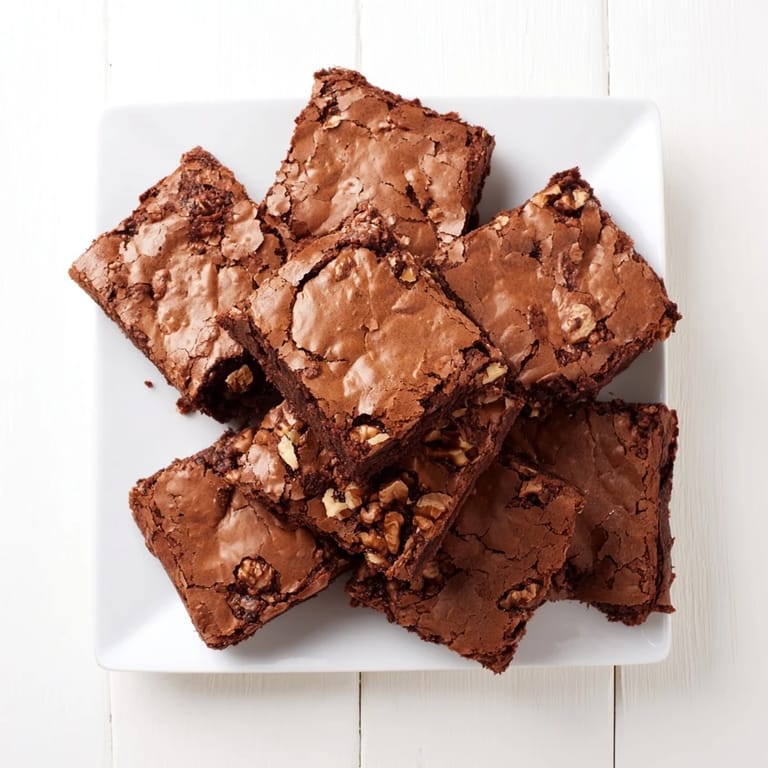
 Every time I pull a batch of these from the oven, I am reminded that the best desserts are often the simplest ones. May your kitchen always smell like melted chocolate.
Recipe Q&A
- → How do I know when brownies are done?
Insert a toothpick into the center—it should come out with a few moist crumbs, not completely clean. This ensures fudgy texture rather than cakey.
- → Why didn't my brownies get a crackly top?
A crackly top forms when sugar dissolves properly and rises to the surface during baking. Make sure to whisk eggs vigorously and avoid overmixing the batter.
- → Can I use cocoa powder instead of chocolate?
For true fudgy texture, use both melted chocolate and cocoa powder as specified. Substituting entirely with cocoa will result in a denser, less rich square.
- → How should I store these for best texture?
Keep in an airtight container at room temperature for up to 3 days. For longer storage, refrigerate and bring to room temperature before serving.
- → What makes these squares fudgy rather than cakey?
The high ratio of chocolate and butter to flour creates the dense, fudgy texture. Using both melted chocolate and cocoa powder intensifies richness.